


Many students struggle with the same question: how do you present a master’s thesis of several dozen pages in twenty minutes? Which points belong in it, and how much time does each one deserve? The whole thesis cannot be covered in detail, so something has to give.
This article explains how to prepare such a presentation and how to deliver it so that it makes a real impression on the committee. It was written by our experts, university lecturers who have sat on many master’s thesis defence committees. The advice below is practical, and it is meant to help you decide what to show, in what order, and what to leave off the slides altogether.
The most important rule is simple: the presentation is a condensed account of the logic of your work, not a shortened version of the whole thesis. You do not have to recount everything, and the committee already knows your work. Show them the shape of it: what the problem was, what you set out to investigate, how you did it, what you found and what follows from that.
For a presentation of 15 to 20 minutes, this structure works well:
Ice-breaker > Problem > Objectives > Theory > Methodology > Results > Conclusions
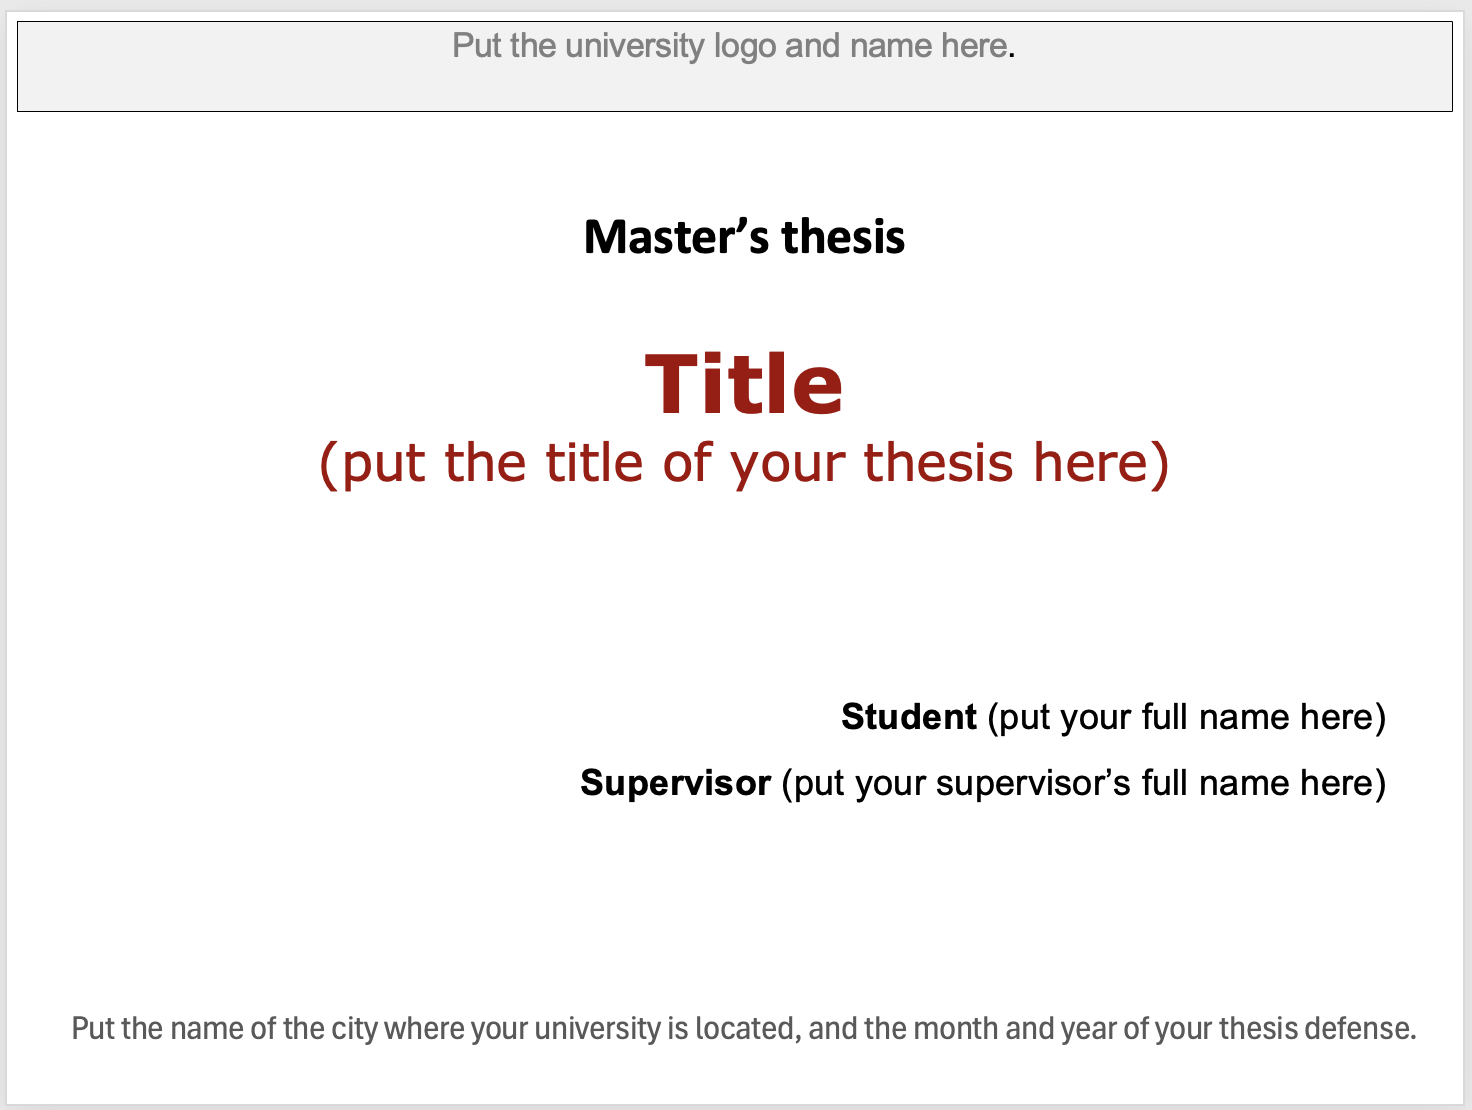
Slide 1. Start by introducing yourself and your title
The committee knows your name and the topic of your thesis, but do not skip this. It is the natural way to open a presentation.
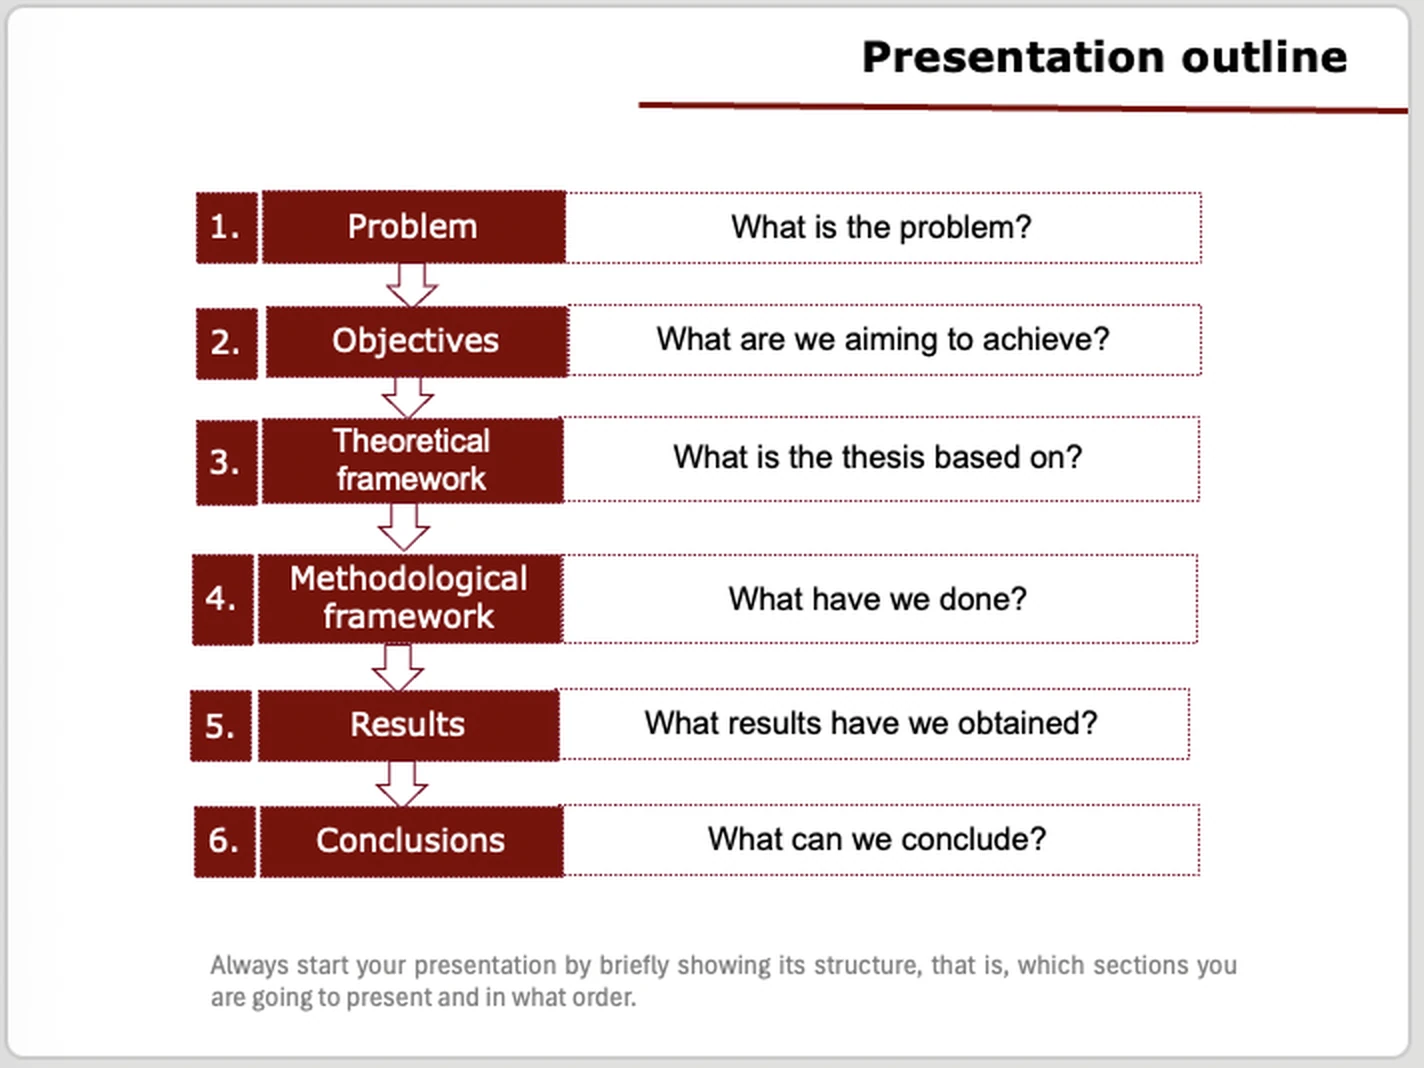
Slide 2. Show the committee the outline of your presentation
Say very briefly what you will talk about and in what order, so that the committee knows the structure from the start.
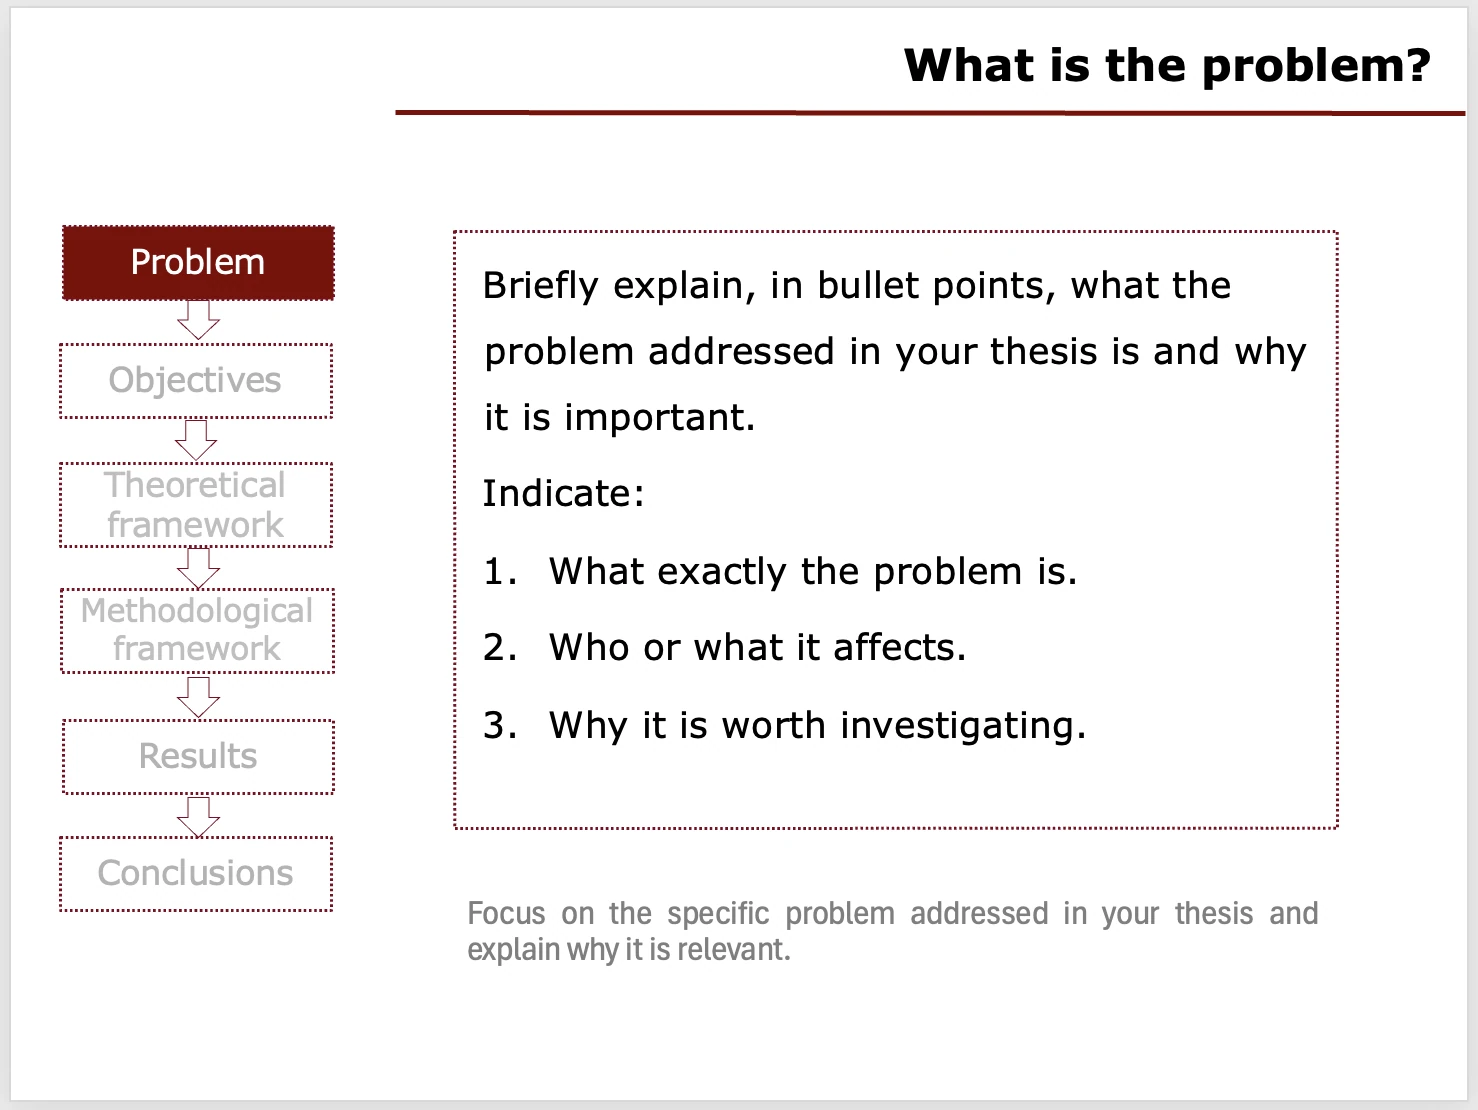
Slide 3. Explain what the problem was
Open with the problem rather than a long stretch of theory. Answer this question:
Which problem did you take on in your thesis, and why did it matter?
If the problem itself still needs sharpening, see how to write a research problem.
Explain briefly:
- what the problem consisted of,
- who or what it affected,
- why it was worth investigating and proposing a solution for.
If you have specific data confirming the scale of the problem, this is the place to show it.
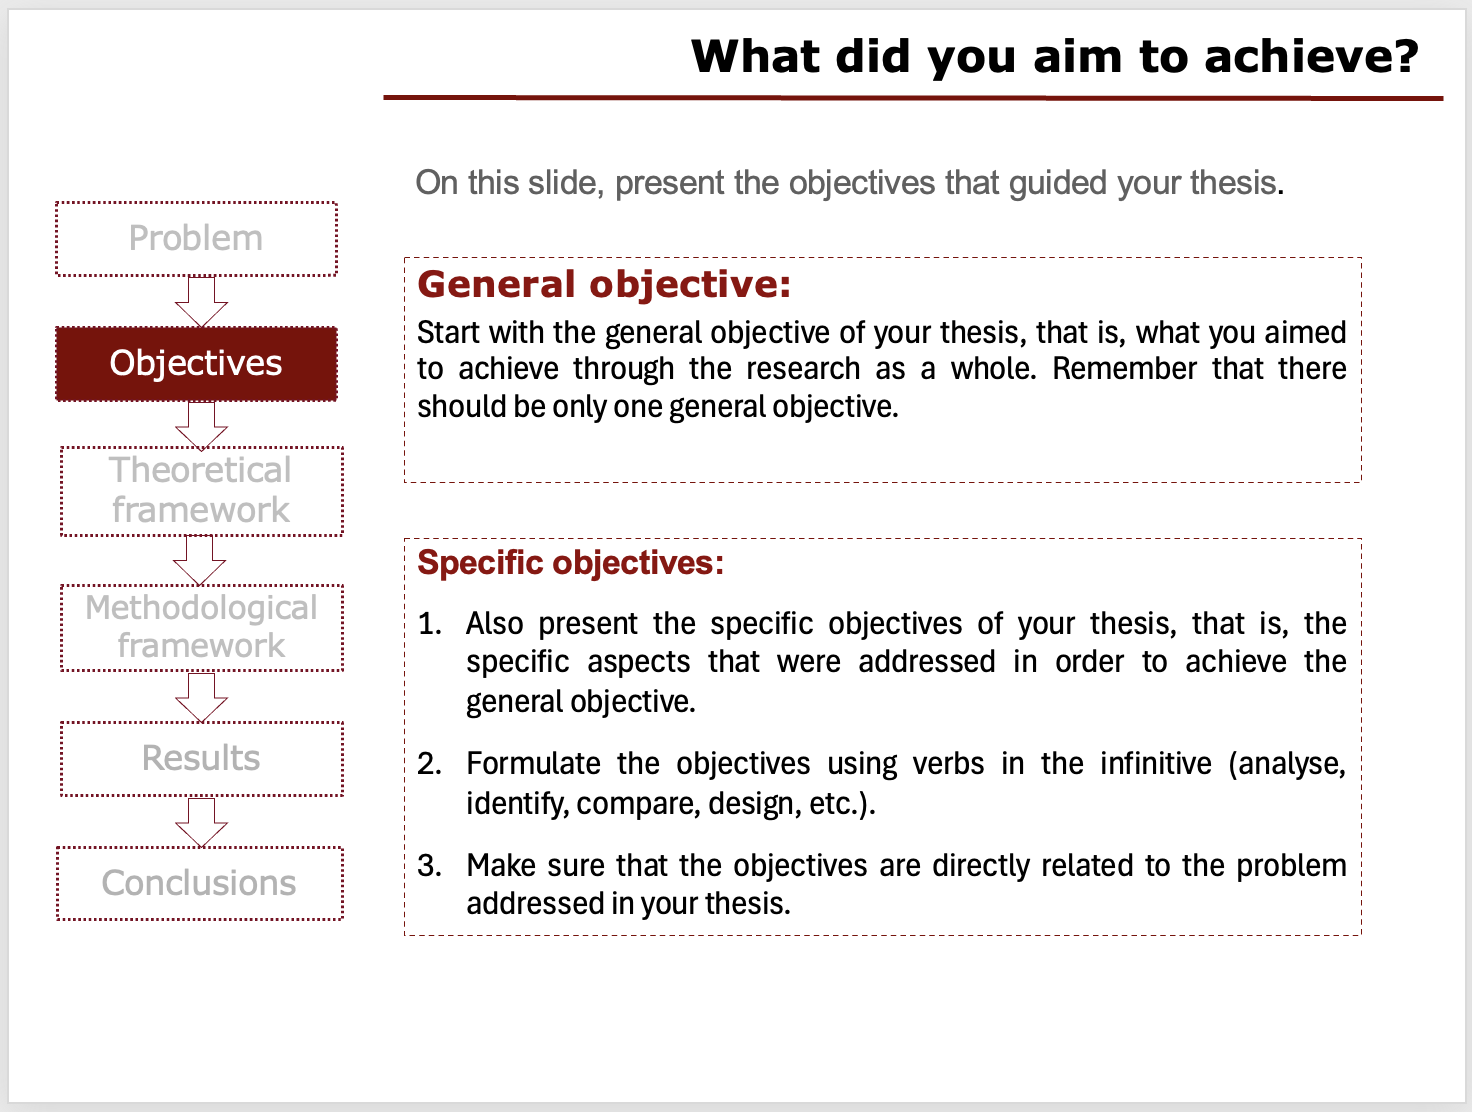
Slide 4. Show the objectives of your thesis
Now the committee should learn why you wrote the thesis and what you set out to achieve.
Show the general objective first, then the specific ones.
You might begin: The general objective of the thesis was………… To achieve it, it was necessary to (and here list the specific objectives)…
Keep the commentary short. What matters is that the committee sees the connection: problem > objectives.
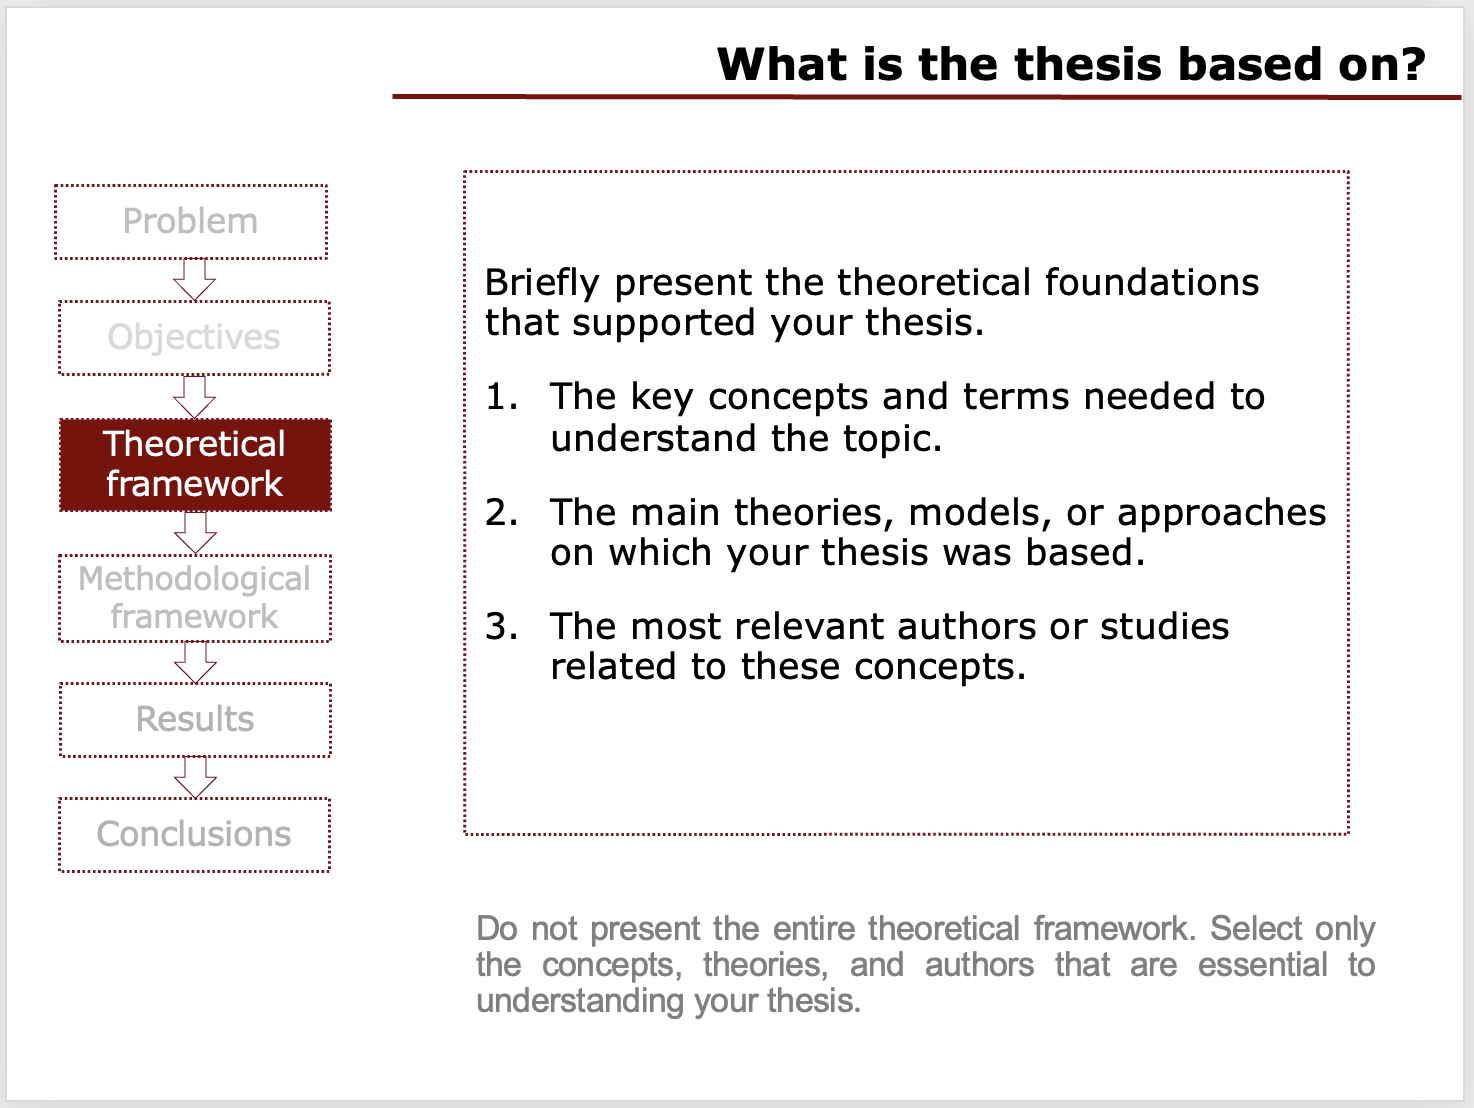
Slide 5. Theory: only what matters most
This is where many students go wrong. They try to summarise the entire theoretical section in a few minutes. Avoid that.
Show only the most important parts, the ones needed to understand your research:
- the key concepts,
- the main theories or models,
- a few key authors.
If your thesis analysed several dozen authors, leave most of them out. Choose the ones who genuinely formed its theoretical foundation.
Slide 6. Explain your research methodology
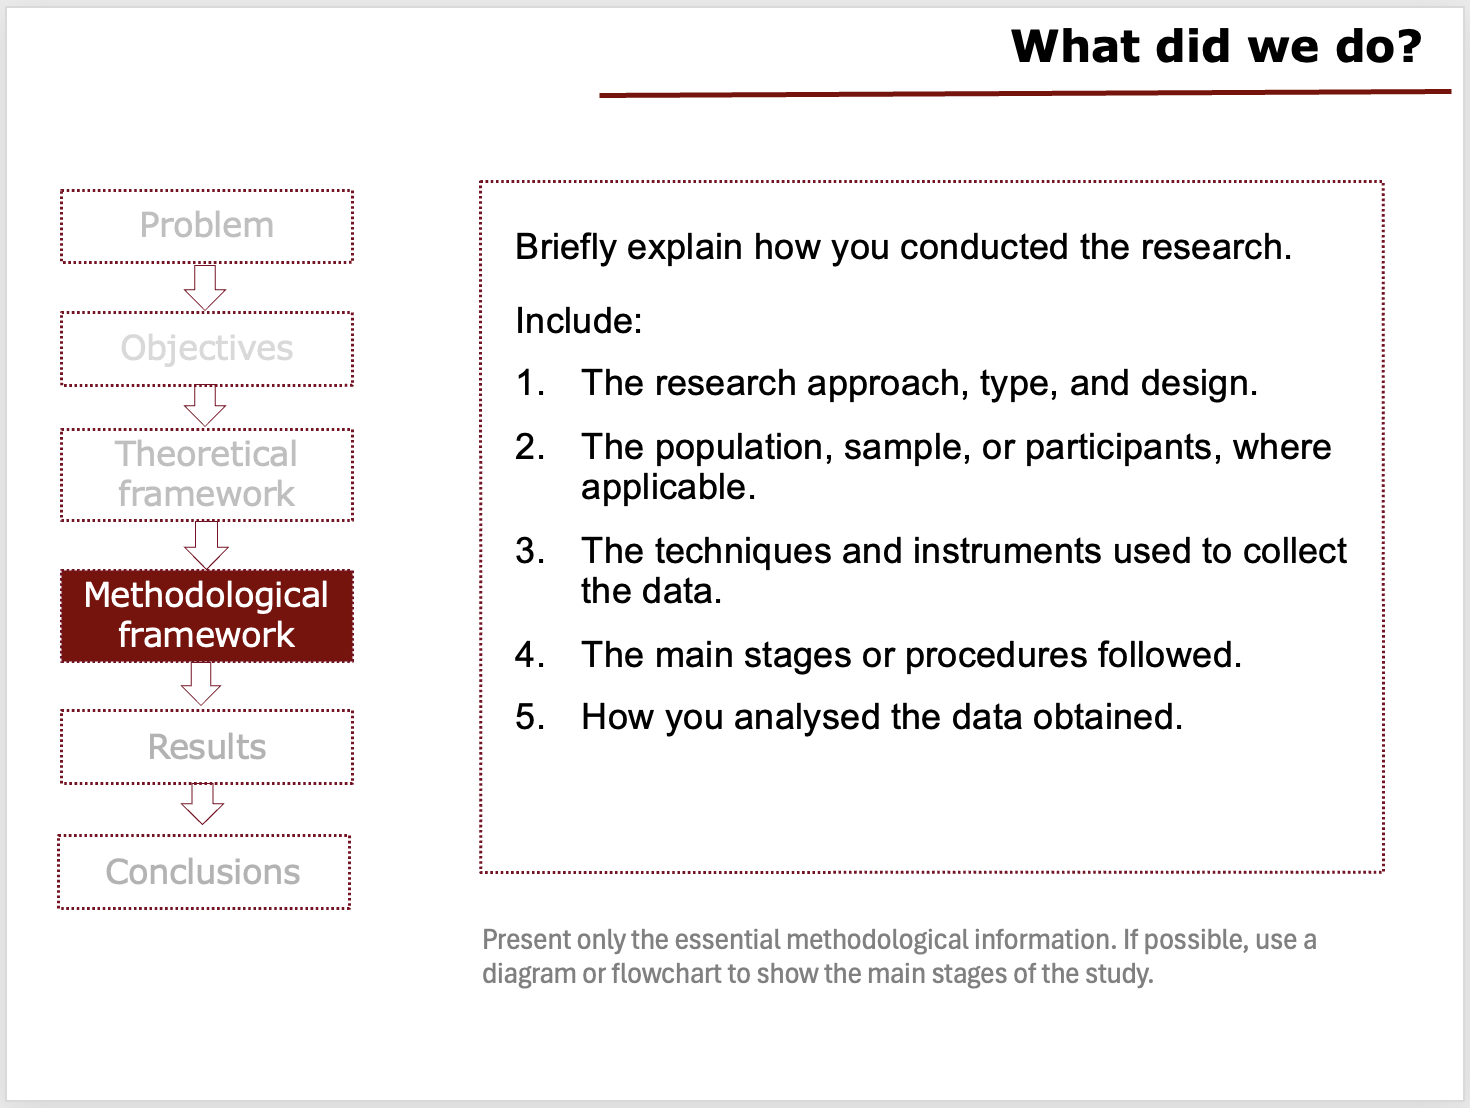
In the methodological section, answer this question:
How exactly did I carry out the research?
Show only the essentials:
- the type of research,
- the sample or participants,
- the methods and instruments used to collect data,
- how the data was analysed,
- the main stages of the research.
Presenting the methodology as a simple diagram works very well in place of a large block of text, particularly when the research was carried out in stages.
Slide 7. Results: the part that deserves the most time
This is one of the most important sections of the presentation.
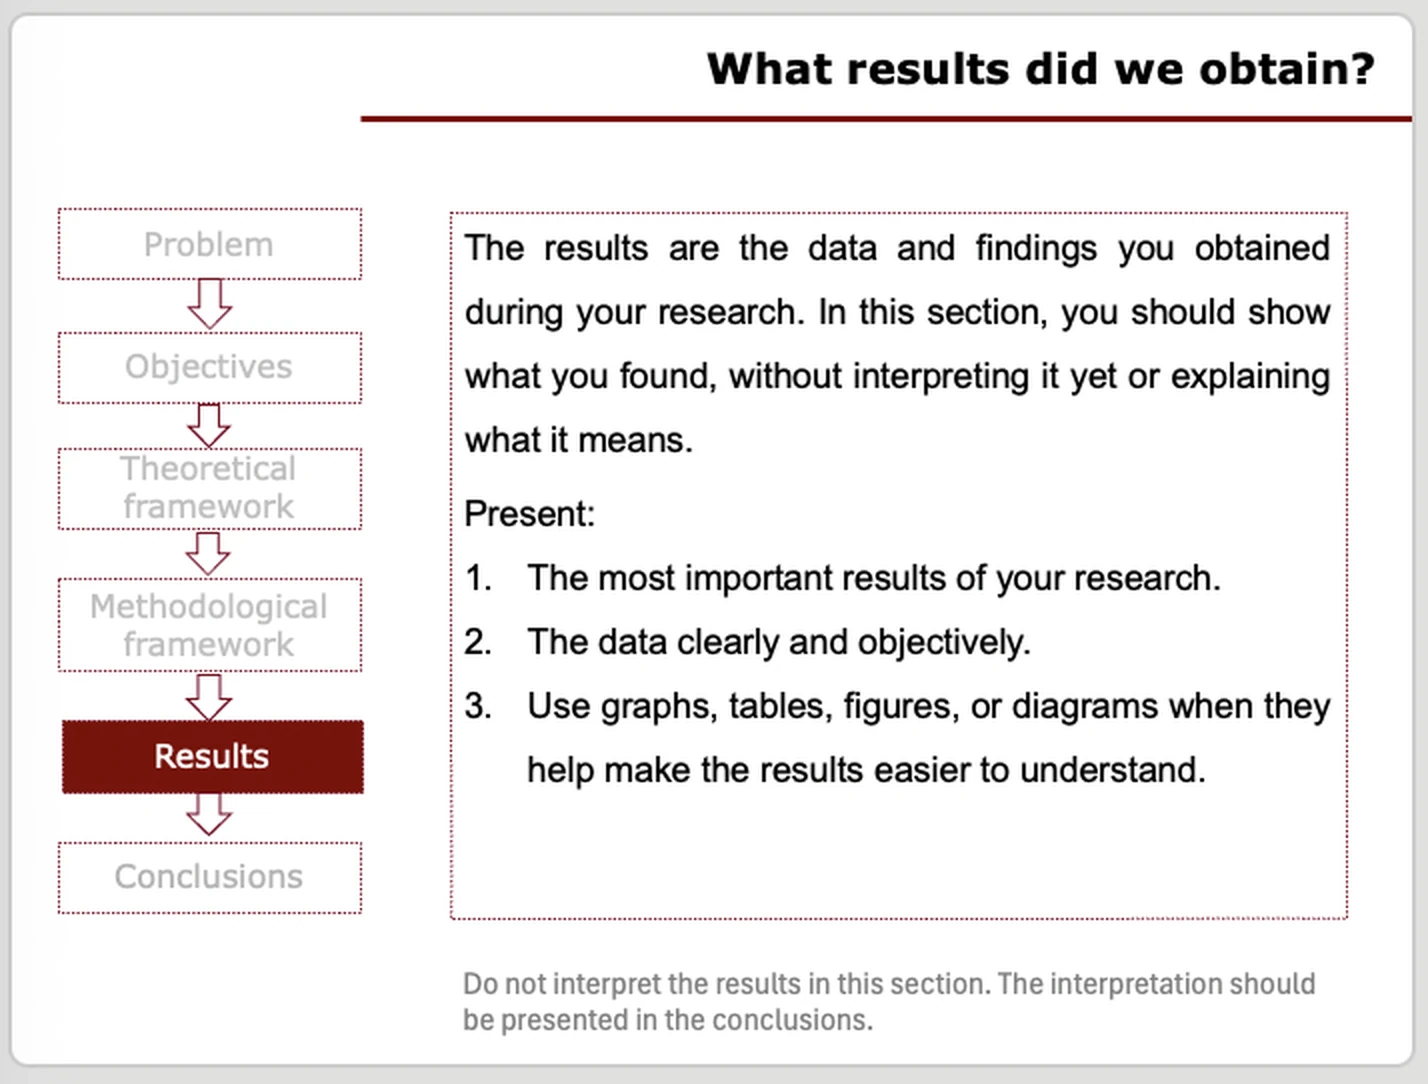
Your results are what you actually obtained in your research.
Show the most important data, findings or proposed solutions to the problem.
If you have several distinct results, give them several slides rather than squeezing them onto one.
To present the results, use:
- tables,
- charts,
- diagrams,
- figures,
- short summaries.
Avoid reading out whole tables. Point the committee to what they should look at.
At this stage you are presenting the results of your research, and the interpretation comes later. You discuss what they mean in the conclusions.
Slide 8. Conclusions: say what follows from the results
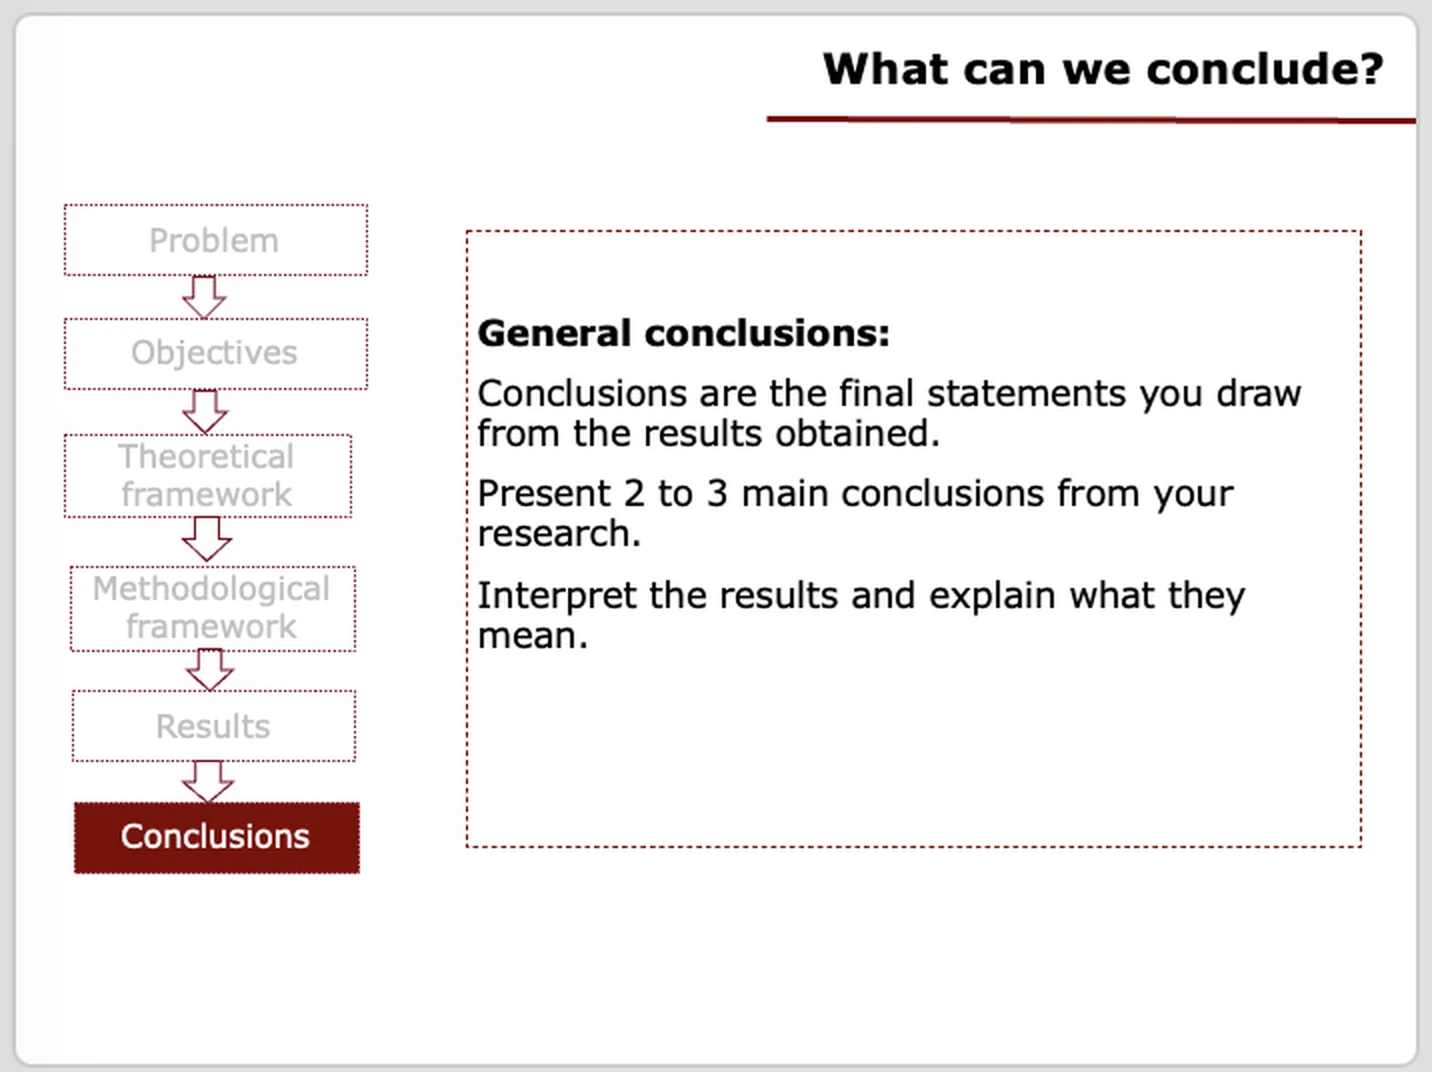
Now you move to the conclusions, answering this question:
What can we conclude from the results of the research?
Start with the two or three most important conclusions from the whole thesis. Explain briefly what the results you obtained mean.
You can then return to the objectives or research questions and show:
- whether all the objectives were met,
- what you managed to establish or achieve,
- which results allow you to say so.
This closes the presentation well, because the committee sees the whole chain:
problem > objective > research > result > conclusions
If time allows, mention briefly the limitations of your research and the possible directions for further work in the area.
Slide 9. Close by thanking the committee
End the presentation by thanking the committee for their attention and showing that you are ready to answer questions.
How much time should each part take?
There is no single accepted standard. In a 20-minute presentation, avoid dividing the time equally between all the slides. Leave the most time for discussing your own research and results.
As a rough guide:
- introduction and outline: 30 seconds
- problem: 2 minutes
- objectives: about 2 minutes
- theory: 3 minutes
- methodology: 3 minutes
- results: 7 minutes
- conclusions: 2.5 minutes
This is only an approximate split. If your thesis has a particularly extensive empirical section, the results may deserve even more time.
Remember that practice makes perfect. Rehearse the presentation aloud at home and time yourself until you can fit comfortably into 20 minutes. If you struggle to stay within the limit, cut unnecessary words and repetitions. Where you can, say things more simply and more briefly.
What to avoid
- Fitting the whole thesis onto the slides.
- Pasting in long passages of text.
- Showing every table and every result.
- Above all, reading the presentation off the screen.
Slides are there to help you talk about your work rather than to replace what you say.
A ready-made master’s thesis presentation template
If you still do not know where to start, we have prepared a ready-made master’s thesis presentation template. It shows step by step which slides to prepare and what to put on each of them.